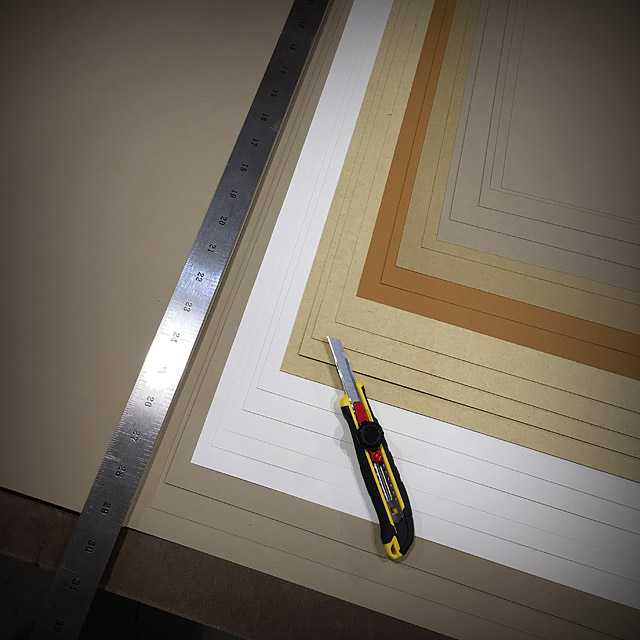
My Challenge guillotine paper cutter is only capable of taking widths up to 25 inches wide. Since most of my parent sheets come in 26″ x 40″, I always have to make at least one cut on the table ( sometimes two ).
Hand cutting doesn’t have to be a sloppy, out-of-square operation, and it all starts with a good straight edge. I wish I could provide a paid affiliate link here for this product, but to-the-best-of-my-knowledge, it has been discontinued. While any old ruler or scrap of metal might work, here are a few features of this straight edge that have made using it so much more productive.
The one I use was picked up on clearance from a big box store. I actually bought a couple and gave them away as gifts. If you are going to purchase one for yourself, pay attention to these variables.

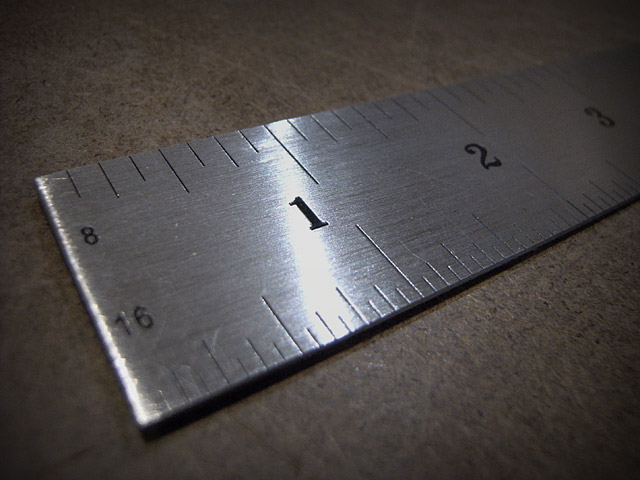
Flush End – The zero-point starts right at the end of the ruler. A flush end makes it easier to use your finger against the stack of paper, and know by feel that everything is still lined up while measuring the length of the cut. On a few of the ones I purchased, the graduation stamping was off slightly. Check this. Fortunately, the length was strong, and I was able to file a little off the end to true it up.
Symmetrical Units – Having multiple units such as centimeters, picas and agates on a ruler might be handy sometimes, but nothing beats the convenience of having the same units along both edges of the ruler. You will appreciate this when you mark the bottom edge, then slide the ruler up to the top edge, and can mark it without flipping over the stupid ruler.
Grip – One of the best features of this ruler, is probably what made it so cheap and undesirable in the first place: poor quality. When these were stamped out, the press left a small burr along the bottom edge of the perimeter. It was slightly sharp at first, and I was tempted to file it smooth. That burr provides just the right amount of tooth to give it a little bit of purchase against the paper, and keep it from sliding around. I don’t have any good tips for re-creating that burr, but it sure beats any other non-slip substance that could be applied to the bottom face.

BONUS TIPS: These are pretty basic.
1) If finishing on a guillotine, plan your hand cuts so that they will be removed as waste in later cuts.
2) Keep your knife sharp. Seems simple, but it makes all the difference. When you get sick of throwing away blades, consider buying or making a leather strop. It’s amazing how it improves your edges, even on the cheapest disposable blades.
3) Use a good, smooth sacrificial surface. There are many expensive cutting mats out there that I have never tried. I use 1/8″ tempered masonite ( probably a trade name ). It is affordable, though it has its drawbacks. It does tend to leave a dusty residue on the bottom sheet, and I can’t say it doesn’t dull the knife edge, but it’s gotta be better than most other surfaces.
4) Mark your cuts with the knife, not a pencil. Just a short tick through the first sheet, at one edge of the paper. I usually mark the bottom edge first. Then at the top edge, I leave the knife in the paper and rotate the ruler to the cutting position. While holding the edge against the blade of the knife, I line up the bottom mark, and then make the cut.
5) Keep your knife angle low to the paper, cutting more with the bevel of the blade instead of the tip.
6) Make slow even cuts with the slightest amount of pressure against the straight edge. Avoid touching the sharpened edge of the knife against the ruler.
7) Some papers can handle a thicker lift ( or stack ). Do what is comfortable.
You must be logged in to post a comment.